One of the biggest differences between those to solutions is for sure a more complex installation that is needed to fit your tractor with hydraulic steer. While installation of mechanical autosteer can be done by almost any farmer himself, just little reading and understanding of the principle of its work is required. Installation of hydraulic autosteer is more complex and should be done by experienced mechanics.
In June 2020 FieldBee team has made a successful installation of hydraulic auto steer for our customer in Germany. We have spent 2 days to install the system on his 8 year old Steyr 6225 tractor. Here is an outline of steps that needs to be done to perform a successful installation of such a solution.
Steps of hydraulic installation
1. Preparation step – collect information regarding the tractor:
- Tractor brand, model, year;
- Tractor HP information;
- tractor hydraulic system specs (Open center or Closed center);
- get the picture of orbitrol and other hydraulic components related with steering (if not sure about hydraulic system specs).
All this information should be provided by a customer in advance.
2. Preparing (drawing) the hydraulic scheme.
3. When the system is ready to install here are the steps that are needed to be performed:
- Define the position of valve;
- Define the connections and position for fittings (type of fittings, metric or whit worth);
- Measure the hydraulic hoses according to between fittings and hydraulic valve;
- After defining the type of fittings as metric or whit worth, arrange also the same specs for hydraulic hoses;
- Press fitting connections to the hydraulic hose;
- Installing the valve and when hose connections etc. is done, need to check that all hydraulic connections are ok and double check possible leaks, possible wrong hydraulic hose connections etc.
- If everything is ok, then need to supply required steering oil etc.
- First run of engine, checking the leaks, function of steering while manual driving. (it is very important because tractor steering functions must work as previously for safety reasons);
- Make left-right turns and more movements (driving) till oil gets warmer/hot and to observe more.
4. When you are sure that the driving performance of the tractor is the same it is time to make all wiring, harnesses and standard ECU installation, GPS antenna installation etc.
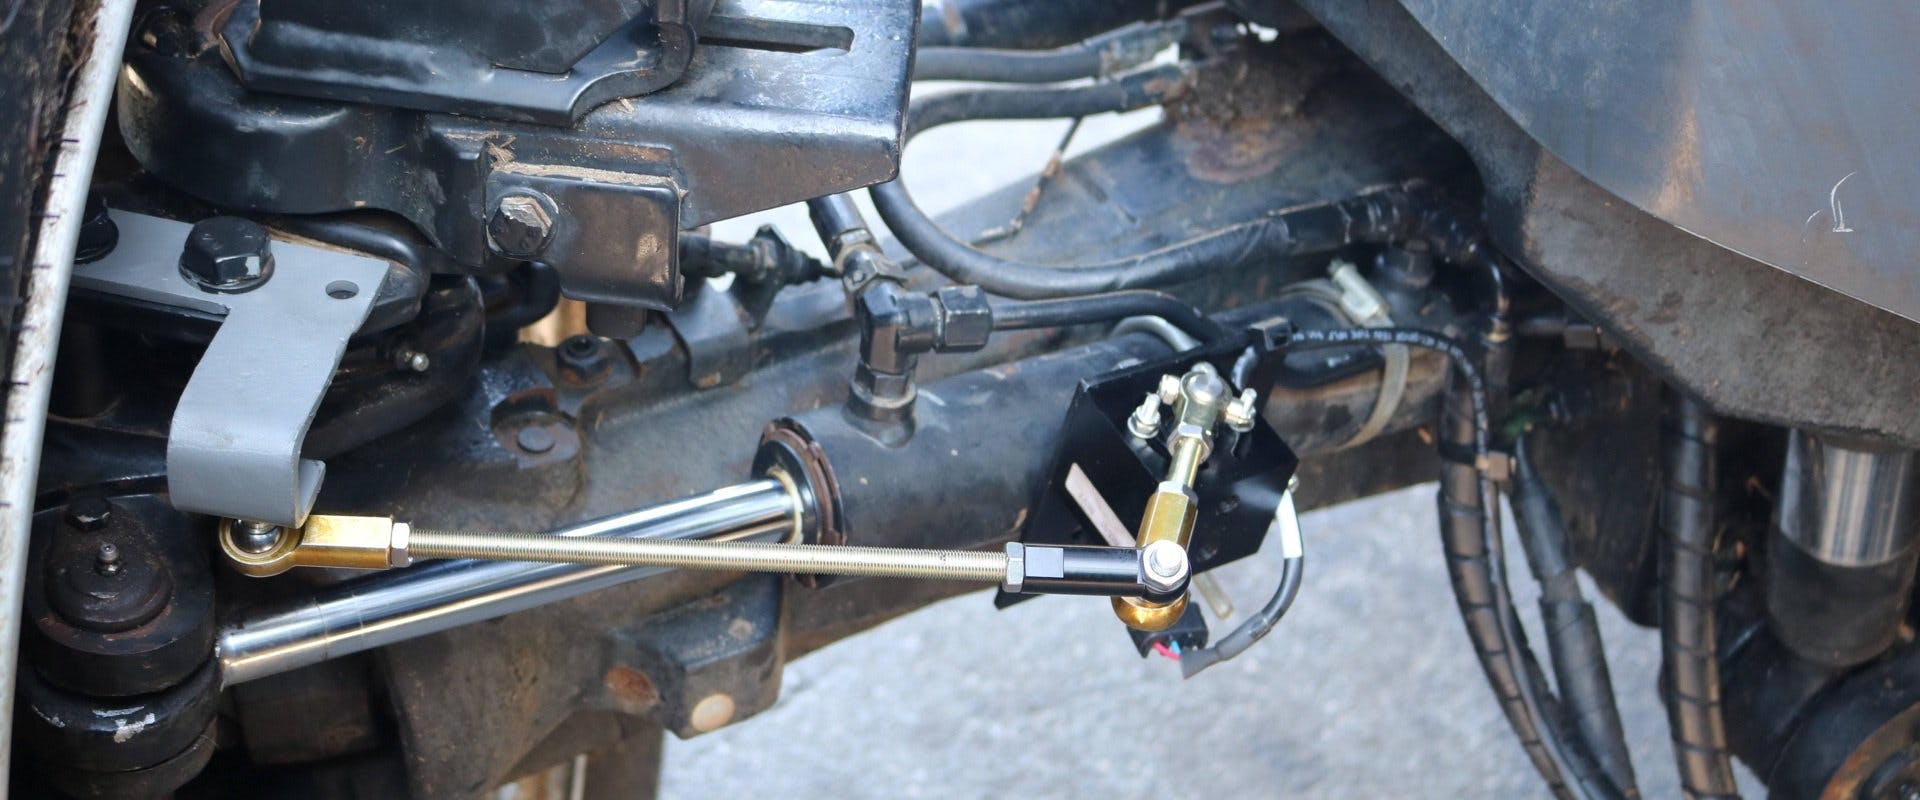
5. Installing the Wheel Angle Sensor – that can take more time as it is also one of the hardest part in the hydraulic autosteer installation.
6. When wheel angle sensor is installed it is time to do calibration:
- Create first calibration and adjust count of wheel angle sensor turning degree;
- Create profile of tractor as hydraulic steer installation;
- Make measurement of tractor (component positions);
- And finally do an auto calibration.
After auto calibration is done, the tractor is ready to run.
How long does hydraulic installation take?
Usually it takes 2 full days. With the struggles it can take longer up to 3 days.
Installation service
Please let us know and we will provide you with more information.


